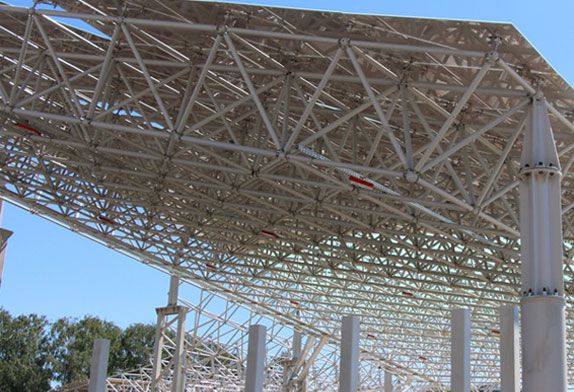
Next up, the space frame processing company will introduce the measures to ensure the accuracy of space frame processing.
Sufficient processing accuracy is the main measure to reduce the assembly stress generated during the installation of the space frame. We formulate processing accuracy requirements in accordance with the principle that corporate standards are higher than current national standards and take measures to ensure them.
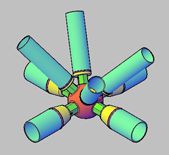
- The angle error between the screw holes of the bolt ball should be controlled within ±l5ˊ (the national standard is ±25ˊ). The main measures are: the roughness of the rough ball is controlled within 2mm, and all the rough balls have their appearance and geometry.
Dimensional inspection and material sampling re-inspection. Regularly check the accuracy of the jigs and fixtures (error & plusmn; 2ˊ), strictly implement the three inspection system, and check the finished balls according to the model 1% of each type, not less than 5. The screw holes on the bolt ball are all re-inspected with bolt plug gauges to ensure that the thread accuracy and tapping depth meet the requirements of the drawings.
- The length error of the rods is controlled within ±l.0mm.
Main measures: Strictly control the blanking length, determine the reserved welding shrinkage of various specifications of rods through experiments, measure with the same steel rule calibrated in the measuring room, and make sampling retests of finished rods of various specifications and lengths in each shift assessment.
- The processing accuracy of cones, sealing plates, and sleeves shall be strictly in accordance with the design drawings and quality assessment standards. Each specification shall be sampled at a rate of 5% (and no less than 10) for appearance and processing accuracy inspection. The appearance inspection shall ensure that there are no cracks, burns and oxide scales, and the processing accuracy shall use tools such as vernier cards and dial indicator V-shaped blocks to ensure compliance with the design drawings and the “Space frame Structure Engineering Quality Inspection and Evaluation Standard” (JGJ78—91).


 About Us
 2021-10-29


